Crown Molding Installation Tips
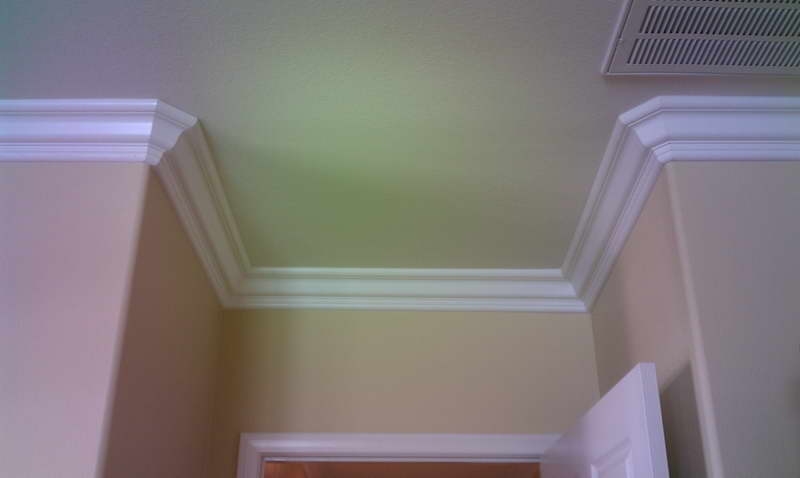
 One of the best ways to add sophistication and elegance to any room is to use crown molding. Crown Molding Installation is a very difficult project. Many home owners shy away from doing it on their own and hire a Crown Molding Installer. However, with proper research and the right tools, you can install crown molding in your home. One of the basic things that you need to remember while selecting decorative crown molding, is that it should match your homes design. The wrong choice in decorative trim molding can take away from the beauty of the room. Also be sure to measure the dimensions of the room thoroughly where you are installing the molding.
Decorative Crown Molding Installation can be implemented in any kind of room. Decorative molding is quite affordable and can fit into anyone’s budget. People can choose accordingly from the different types and ranges available. You can buy materials and the necessary things but it is always better to combine the things you have and install it, giving it a unique look.
Crown molding installation
Before we discuss Crown Molding installation, you need to choose the decorative molding for your room. Crown moldings are available in a variety of crown molding designs and materials. While it might be tempting to choose a wide crown molding with lots of carved details, you need to remember that it should match the home decor and proportions of your room. Choose ornately carved crown molding only if you have a large room and the decor is country style. Otherwise a contemporary crown molding is a good choice for a modern home. Once you have selected the crown molding of your choice, you need to get all the supplies required for installing crown molding.
Materials required for Crown Molding Installation
- Compound miter saw
- Crown Molding
- Safety equipment like eye wear and hand gloves.
- Air Compressor
- Ladder
- Hammer & Putty Knife
- 18 Gauge nail gun
- 2″ nails
- Caulking
- Wood Filler
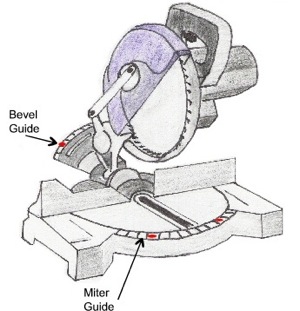
You need to select a good quality miter saw to cut crown molding. The selection of a saw
is very important. Correct selection of the miter saw can make the task of cutting crown molding much easier and faster.
Crown molding installation Method
- There are two methods of cutting crown moldings. Both of them are equally popular. The choice depends upon the comfort and ease of the person working on crown moldings. The first method is called ‘upside-down and backwards’. It involves propping the crown molding up against the fence and setting the compound miter saw angle.
- The second method of cutting crown molding involves laying the crown molding flat and facing upwards.The first step in crown molding installation is to take exact measurements of the room with a tape measure. Measure the length and width of each wall and
 write it down on a piece of paper. It helps to write the measurements on the wall where the crown molding will be installed.
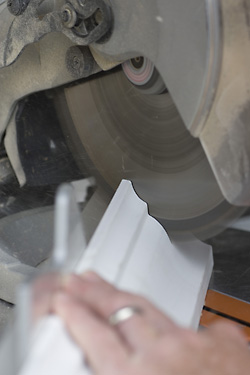
 - The next step is to cut the crown molding with the dimensions that you have written down. Cutting and installing crown molding is the most difficult part in crown molding installation, so you need to be careful. With the miter saw, cut the crown molding at a clean 45 degree angle. To get a flawless cut, you should turn the crown molding upside down before making the cut.
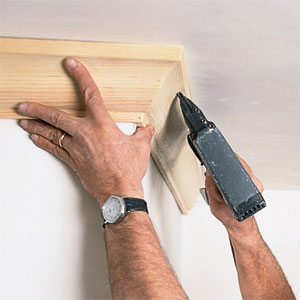
- Next nail the crown molding into the wall. It is best to start from one corner of the room and finish on the other side.
- To install crown molding corners, use 45 degree miter cuts and make sure that it fits the adjacent molding perfectly. Once you are done nailing the crown molding on the walls, fill the nail holes with wood filler. Sand the area lightly with a fine grit sandpaper and use caulk for filling up any small gaps in the molding.
- Now your Crown Molding is ready for paint.
For more information on Crown Molding Installation . Fallow us on Google+ , and Like us on Facebook, Or on Twitter or find us on Houzz


